


Removing wound stitches at home requires extreme care, proper tools, and knowing when and how to do it safely. While many choose to have a healthcare professional remove stitches, some may consider doing it themselves. VMEDO’s guide offers a detailed, step-by-step process for safely removing stitches at home.
When is it Safe to Remove Stitches?
Stitches are typically removed anywhere between 5 to 14 days after they have been put in, depending on the location of the wound, the type of stitches, and the individual’s healing process. Here’s a general timeline:
- Face: 5-7 days
- Scalp: 7-10 days
- Arms and Legs: 10-14 days
- Joints (knees, elbows, etc.): 10-14 days
- Hands and Feet: 10-14 days
- Back: 10-14 days
Before removing stitches, make sure:
- The wound is fully healed, and the skin has closed up around the stitches.
- There is no swelling, redness, pain, or signs of infection like pus or warmth around the wound area.
- Your healthcare provider has approved that it’s safe to remove the stitches.
Signs of Healing and Readiness for Stitch Removal
A few signs that the wound is healing and the stitches can be removed include:
- Minimal scarring: The wound edges appear to have fused together.
- No infection: There should be no redness, swelling, or discharge.
- No pain: The wound feels normal to the touch, without tenderness or irritation.
- Dryness: The wound should not be wet, seeping, or bleeding.
What You’ll Need to Remove Stitches at Home
Ensure you have the right tools before starting the process. You’ll need:
- Sterile Scissors or Stitch Removal Scissors (preferred).
- Tweezers (Sterilized).
- Antiseptic Solution like iodine or alcohol wipes.
- Sterile Gauze Pads.
- Bandages (if needed post-removal).
- Gloves (optional, but highly recommended).
- Good lighting and possibly a magnifying glass if the stitches are very small.
How to Remove Stitches at Home: Step-by-Step Guide
1. Consult Your Doctor
Before attempting to remove stitches at home, consult your doctor. They may suggest an appropriate time to remove the stitches and inform you of any risks specific to your wound. Some stitches are designed to dissolve on their own and should not be manually removed.
2. Gather All the Tools
Prepare the necessary tools in a clean and sterile environment. Wash your hands thoroughly with soap and water for at least 20 seconds. You can also use gloves to maintain a sterile field.
3. Clean the Wound Area
Before removing stitches, clean the wound area gently with an antiseptic solution or alcohol wipes. This will prevent infection and ensure a safe process.
4. Sterilize the Tools
Use boiling water or rubbing alcohol to sterilize the scissors and tweezers. Let them dry on a sterile surface, like a clean paper towel or a disinfected plate.
5. Sit in a Well-Lit, Comfortable Area
Choose a comfortable place where you have plenty of light to ensure that you can see the stitches. You might need help from a family member or friend to assist in removing the stitches if the wound is in a hard-to-reach area.
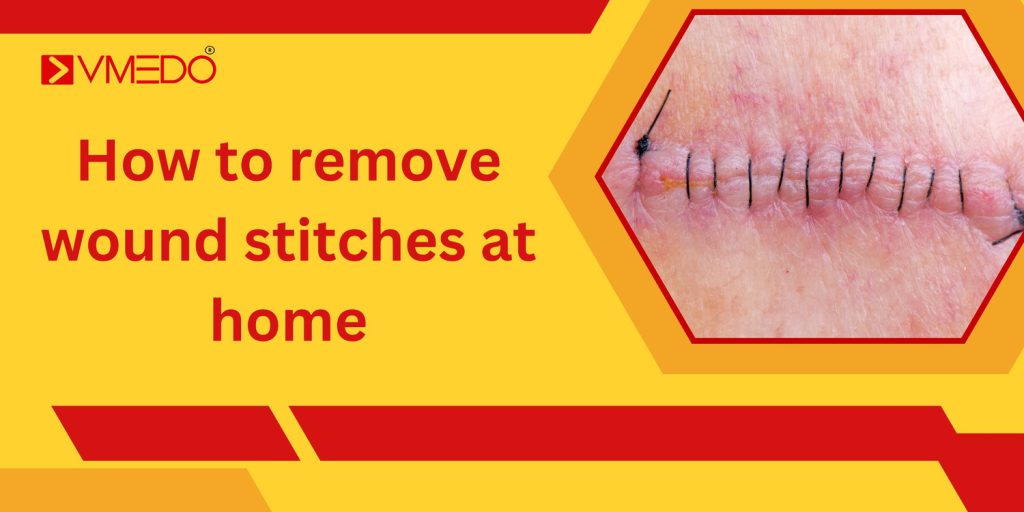
6. Cut the Stitch Carefully
Using the sterile scissors, gently lift one knot of the stitch with your tweezers. Insert the scissor blade into the loop of the stitch and cut it. Be careful not to cut too close to the skin to avoid damaging the wound or reopening it.
7. Pull Out the Stitch
Once the stitch has been cut, use the tweezers to carefully pull the thread through the skin and out of the wound. The stitch should slide out easily. Be sure to pull in the direction that prevents dragging the outside stitch back through the wound, as this can cause irritation and increase the risk of infection.
8. Continue with Each Stitch
Repeat the process for each stitch. If you feel any resistance or pain while pulling out a stitch, stop and consult your healthcare provider.
9. Clean the Wound Again
After all stitches have been removed, clean the wound once again with an antiseptic solution. Use a sterile gauze pad to gently dab the area.
10. Apply an Antibiotic Ointment
To ensure the wound remains clean and infection-free, apply a thin layer of antibiotic ointment (like Neosporin) to the wound. This step helps in promoting further healing and reducing the chances of infection.
11. Bandage the Wound (If Needed)
Depending on how the wound looks post-removal, you may choose to apply a clean bandage. If the wound is fully healed, leaving it open to air is also fine.
12. Monitor the Wound for a Few Days
After removing stitches, monitor the wound over the next few days. Look for signs of infection like redness, swelling, or discharge. Contact a healthcare professional immediately if you notice any of these symptoms.
Common Mistakes to Avoid While Removing Stitches
- Removing stitches too early: Premature removal can lead to wound reopening or infections.
- Not sterilizing tools: Using unsterilized scissors or tweezers can introduce bacteria into the wound, leading to infection.
- Not consulting a doctor: Always check with a healthcare provider before attempting to remove stitches yourself.
- Forcing a stitch: If a stitch is not coming out easily, stop. Forcing it can damage the skin and complicate the healing process.
When to See a Doctor
In some cases, removing stitches at home might not be the best choice. You should see a doctor if:
- You experience excessive pain or bleeding while attempting to remove stitches.
- You notice any signs of infection, such as pus, increased redness, or warmth around the wound.
- The wound appears to be reopening or the skin hasn’t fully healed.
Risks of Removing Stitches at Home
While removing stitches at home can be safe when done correctly, there are risks involved, such as:
- Infection: If the wound is not properly cleaned or tools are not sterilized.
- Scarring: Improper removal can result in more noticeable scarring.
- Reopening of the Wound: Removing stitches too early or carelessly can cause the wound to reopen, delaying the healing process.
- Allergic Reaction: Some people might react to the antiseptic or ointment applied after the stitches are removed.
Alternatives to Stitches: Dissolvable Sutures
In some cases, dissolvable stitches are used, and they do not need manual removal. These stitches typically dissolve over time as the wound heals. If you’re unsure whether you have dissolvable or removable stitches, consult your doctor before attempting any home removal process.