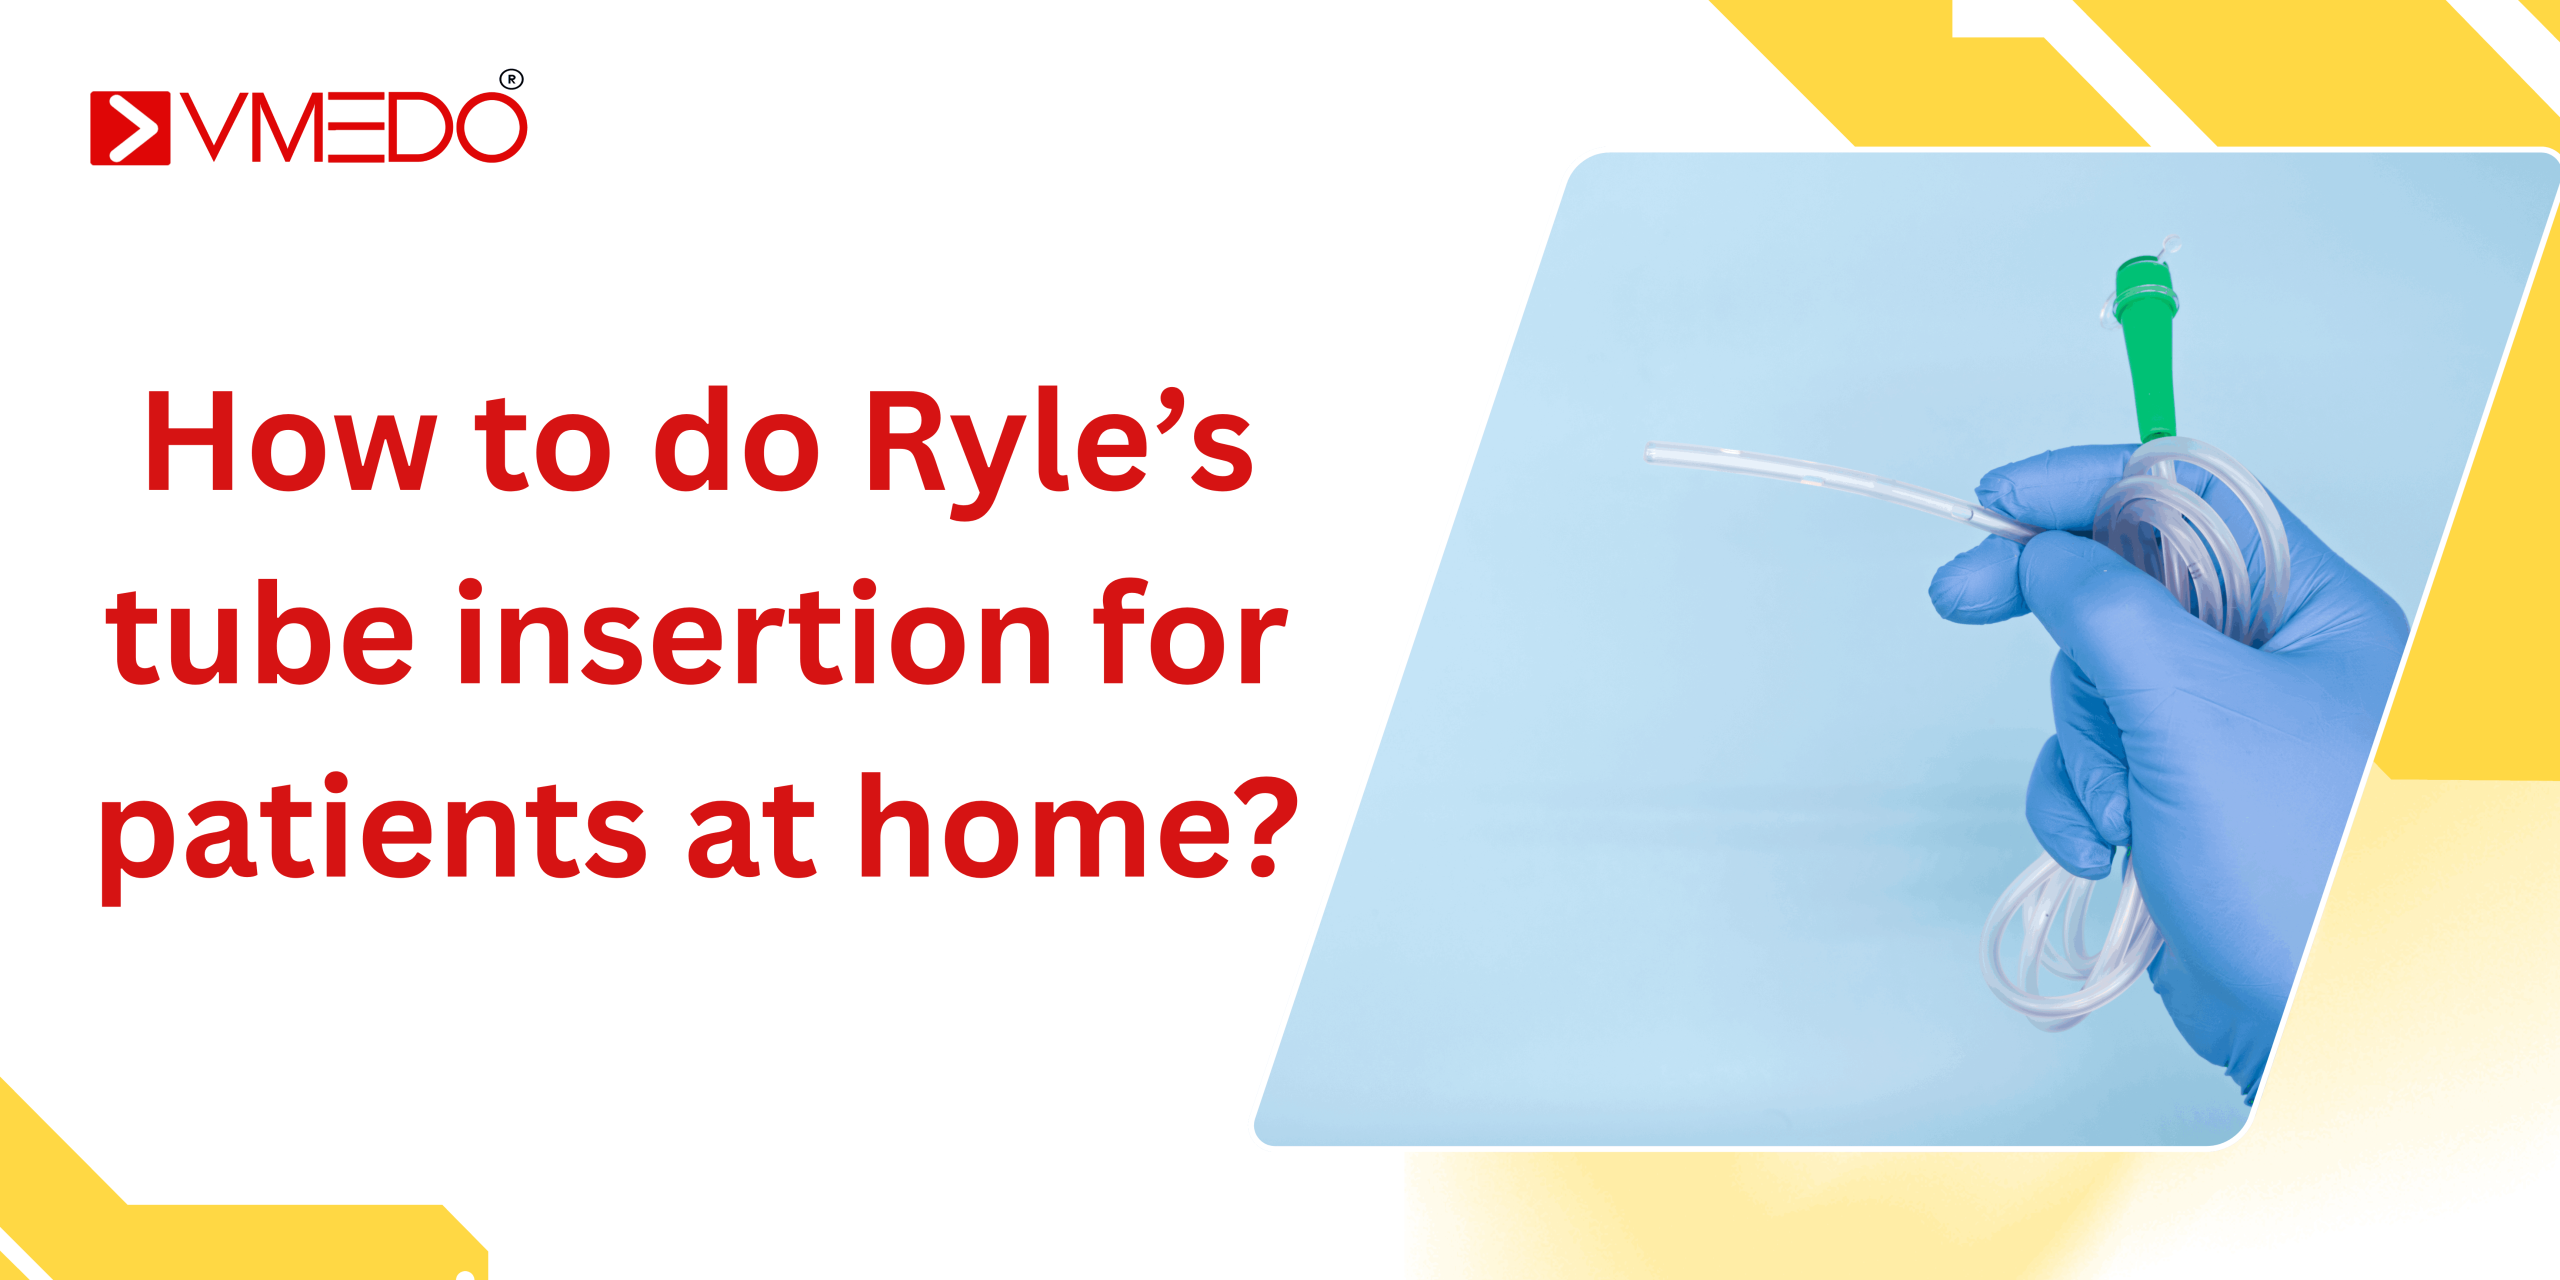
Ryle’s tube insertion at home is a critical medical procedure that ensures proper nutrition or gastric decompression in patients unable to consume food orally. Whether it’s a post-operative recovery, neurological disorder, cancer, or chronic illness, many patients need nasogastric (Nasogastric tube) feeding or drainage. Ryle’s tube (NG tube) provides a safe and effective route for feeding, medication, or stomach content removal. In this comprehensive blog, we explain everything you need to know about how to do Ryle’s tube insertion for patients at home. From understanding the indications and materials required to step-by-step procedures and precautions, this guide is designed to educate caregivers, family members, and medical professionals offering home healthcare services.
What is a Ryle’s Tube?
A Ryle’s Tube, also known as a nasogastric (NG) tube, is a thin, flexible tube inserted through the nose, down the esophagus, and into the stomach. It serves various functions:
-
Feeding (enteral nutrition)
-
Administering medication
-
Decompression of the stomach (removing gas or fluid)
-
Sampling gastric contents
Common Indications for Ryle’s Tube Insertion:
-
Dysphagia (difficulty swallowing)
-
Stroke patients
-
Head or neck cancers
-
Post-surgery recovery
-
Severe malnutrition
-
Comatose or semi-conscious patients
-
Gastric decompression in cases of intestinal obstruction
Can Ryle’s Tube Be Inserted at Home?
Yes, Ryle’s tube insertion can be safely done at home, but it must be performed by a trained nurse or paramedic, as improper insertion can cause aspiration, trauma, or even death. At-home insertion is often preferred for:
-
Terminally ill patients
-
Chronically bedridden individuals
-
Patients with mobility issues
-
Those who require regular feeding support
VMEDO offers Ryle’s tube insertion at home across Bangalore, ensuring patient safety, convenience, and hygiene.
Who Can Insert a Ryle’s Tube at Home?
Only qualified medical professionals such as:
-
Nurses
-
Paramedics
-
Doctors
Family members should not attempt this procedure unless trained and instructed by healthcare professionals.
Equipment Required for Ryle’s Tube Insertion at Home
Before starting the procedure, the following sterile materials must be prepared:
-
Ryle’s tube (appropriate size, usually 12–16 Fr for adults)
-
Water-based lubricant
-
Disposable gloves
-
Syringe (60 ml) for aspiration/checking placement
-
pH strips (for gastric fluid testing)
-
Adhesive tape
-
Stethoscope
-
Glass of water with straw (for conscious patients)
-
Waste disposal bag
-
Towel or disposable sheet
-
Suction machine (if required)
-
Feeding syringe or feeding bag (post-insertion)
Step-by-Step Procedure: How to Insert a Ryle’s Tube at Home
1: Prepare the Patient
-
Explain the procedure to the patient or caregiver to reduce anxiety.
-
Ensure the patient is in a high Fowler’s position (sitting upright at 60–90°).
-
Place a towel under the patient’s chin to protect clothes.
-
Wash hands and wear sterile gloves.
2: Measure the Tube Length
-
Estimate the correct insertion length using the NEX method:
-
Nose → Ear → Xiphoid process (bottom of sternum)
-
-
Mark the length on the tube with a piece of tape or marker.
3: Lubricate the Tube
-
Apply water-based lubricant to the tip (6–8 inches) of the tube to ease insertion.
4: Insert the Tube
-
Gently insert the tube into the nostril with better airflow.
-
Advance slowly along the floor of the nose, aiming posteriorly.
-
Ask the patient to swallow sips of water, which helps guide the tube down the esophagus.
-
Continue inserting until the marked point reaches the nostril.
Tip: If the patient starts coughing, gagging excessively, or becomes distressed:
-
Withdraw the tube slightly and try again after the patient calms.
-
These signs could indicate wrong placement (e.g., into the trachea).
5: Confirm Tube Placement
It’s critical to confirm correct positioning before feeding or giving medication. Methods include:
a. Aspirate Stomach Contents
-
Use a 60 ml syringe to gently draw out fluid.
-
Check the color (should be green, yellow, or clear).
b. Check pH of Aspirate
-
Use pH strips – gastric fluid is acidic (pH ≤ 5.5).
c. Air Insufflation Method (less reliable)
-
Inject 10–20 ml of air using a syringe.
-
Use a stethoscope to hear the “whoosh” sound over the stomach.
6: Secure the Tube
-
Use hypoallergenic adhesive tape to secure the tube to the patient’s nose and cheek.
-
Make sure it doesn’t pull or move easily with head movement.
7: Post-Insertion Care
-
Label the tube with the date and time of insertion.
-
Flush the tube with 10–20 ml warm water before and after feeding.
-
Keep the patient’s head elevated at least 30–45° during and 30 minutes after feeding.
-
Monitor for complications like:
-
Blockage
-
Tube displacement
-
Aspiration pneumonia
-
Nasal ulceration
-
How to Feed Through a Ryle’s Tube at Home
Once the placement is confirmed:
-
Wash hands and wear gloves.
-
Prepare the prescribed liquid feed or medications.
-
Use a syringe or gravity feeding set.
-
Pour in feed slowly (over 15–30 minutes).
-
After feeding, flush with 10–20 ml warm water.
Feeding Tips:
-
Don’t rush the feed.
-
Avoid carbonated, very hot, or thick liquids.
-
Check for signs of intolerance: bloating, nausea, vomiting.
How Often Should the Tube Be Replaced?
-
Short-term tubes (PVC): Replace every 7–10 days.
-
Long-term tubes (silicone/polyurethane): Can stay longer, but should still be assessed regularly.
Safety Precautions
-
Never force the tube during insertion.
-
Confirm placement every time before feeding.
-
Keep the insertion site clean and dry.
-
Watch for signs of respiratory distress, bleeding, or aspiration.
Complications to Watch Out For
-
Wrong placement in trachea
-
Bleeding from the nose
-
Sinusitis or nasal ulceration
-
Blockage or dislodgment
-
Infection at insertion site
-
Aspiration pneumonia
Why Choose VMEDO for Ryle’s Tube Insertion at Home?
-
Certified nurses & paramedics with experience
-
Doorstep service anywhere in Bangalore
-
Affordable rates with professional care
-
Emergency support
-
Follow-up visits for feeding and replacements
Conclusion
Ryle’s tube insertion is not just a medical procedure—it’s a lifeline for patients who cannot eat or take medicines orally. When done correctly, it ensures comfort, nutrition, and safety, especially for those battling chronic illnesses, recovering from surgeries, or navigating end-of-life care.
While it is possible to perform Ryle’s tube insertion at home, it must never be attempted without medical supervision. The risks of incorrect placement—such as aspiration, respiratory complications, or internal injuries—are serious. That’s why having a trained healthcare professional is not just recommended, but absolutely essential.
At VMEDO, we understand the challenges of home healthcare. Our mission is to bring hospital-level care into the comfort and safety of your home. With our expert nursing team, strict hygiene protocols, and compassionate support, we ensure every Ryle’s tube insertion is done safely, efficiently, and with utmost dignity for the patient.


