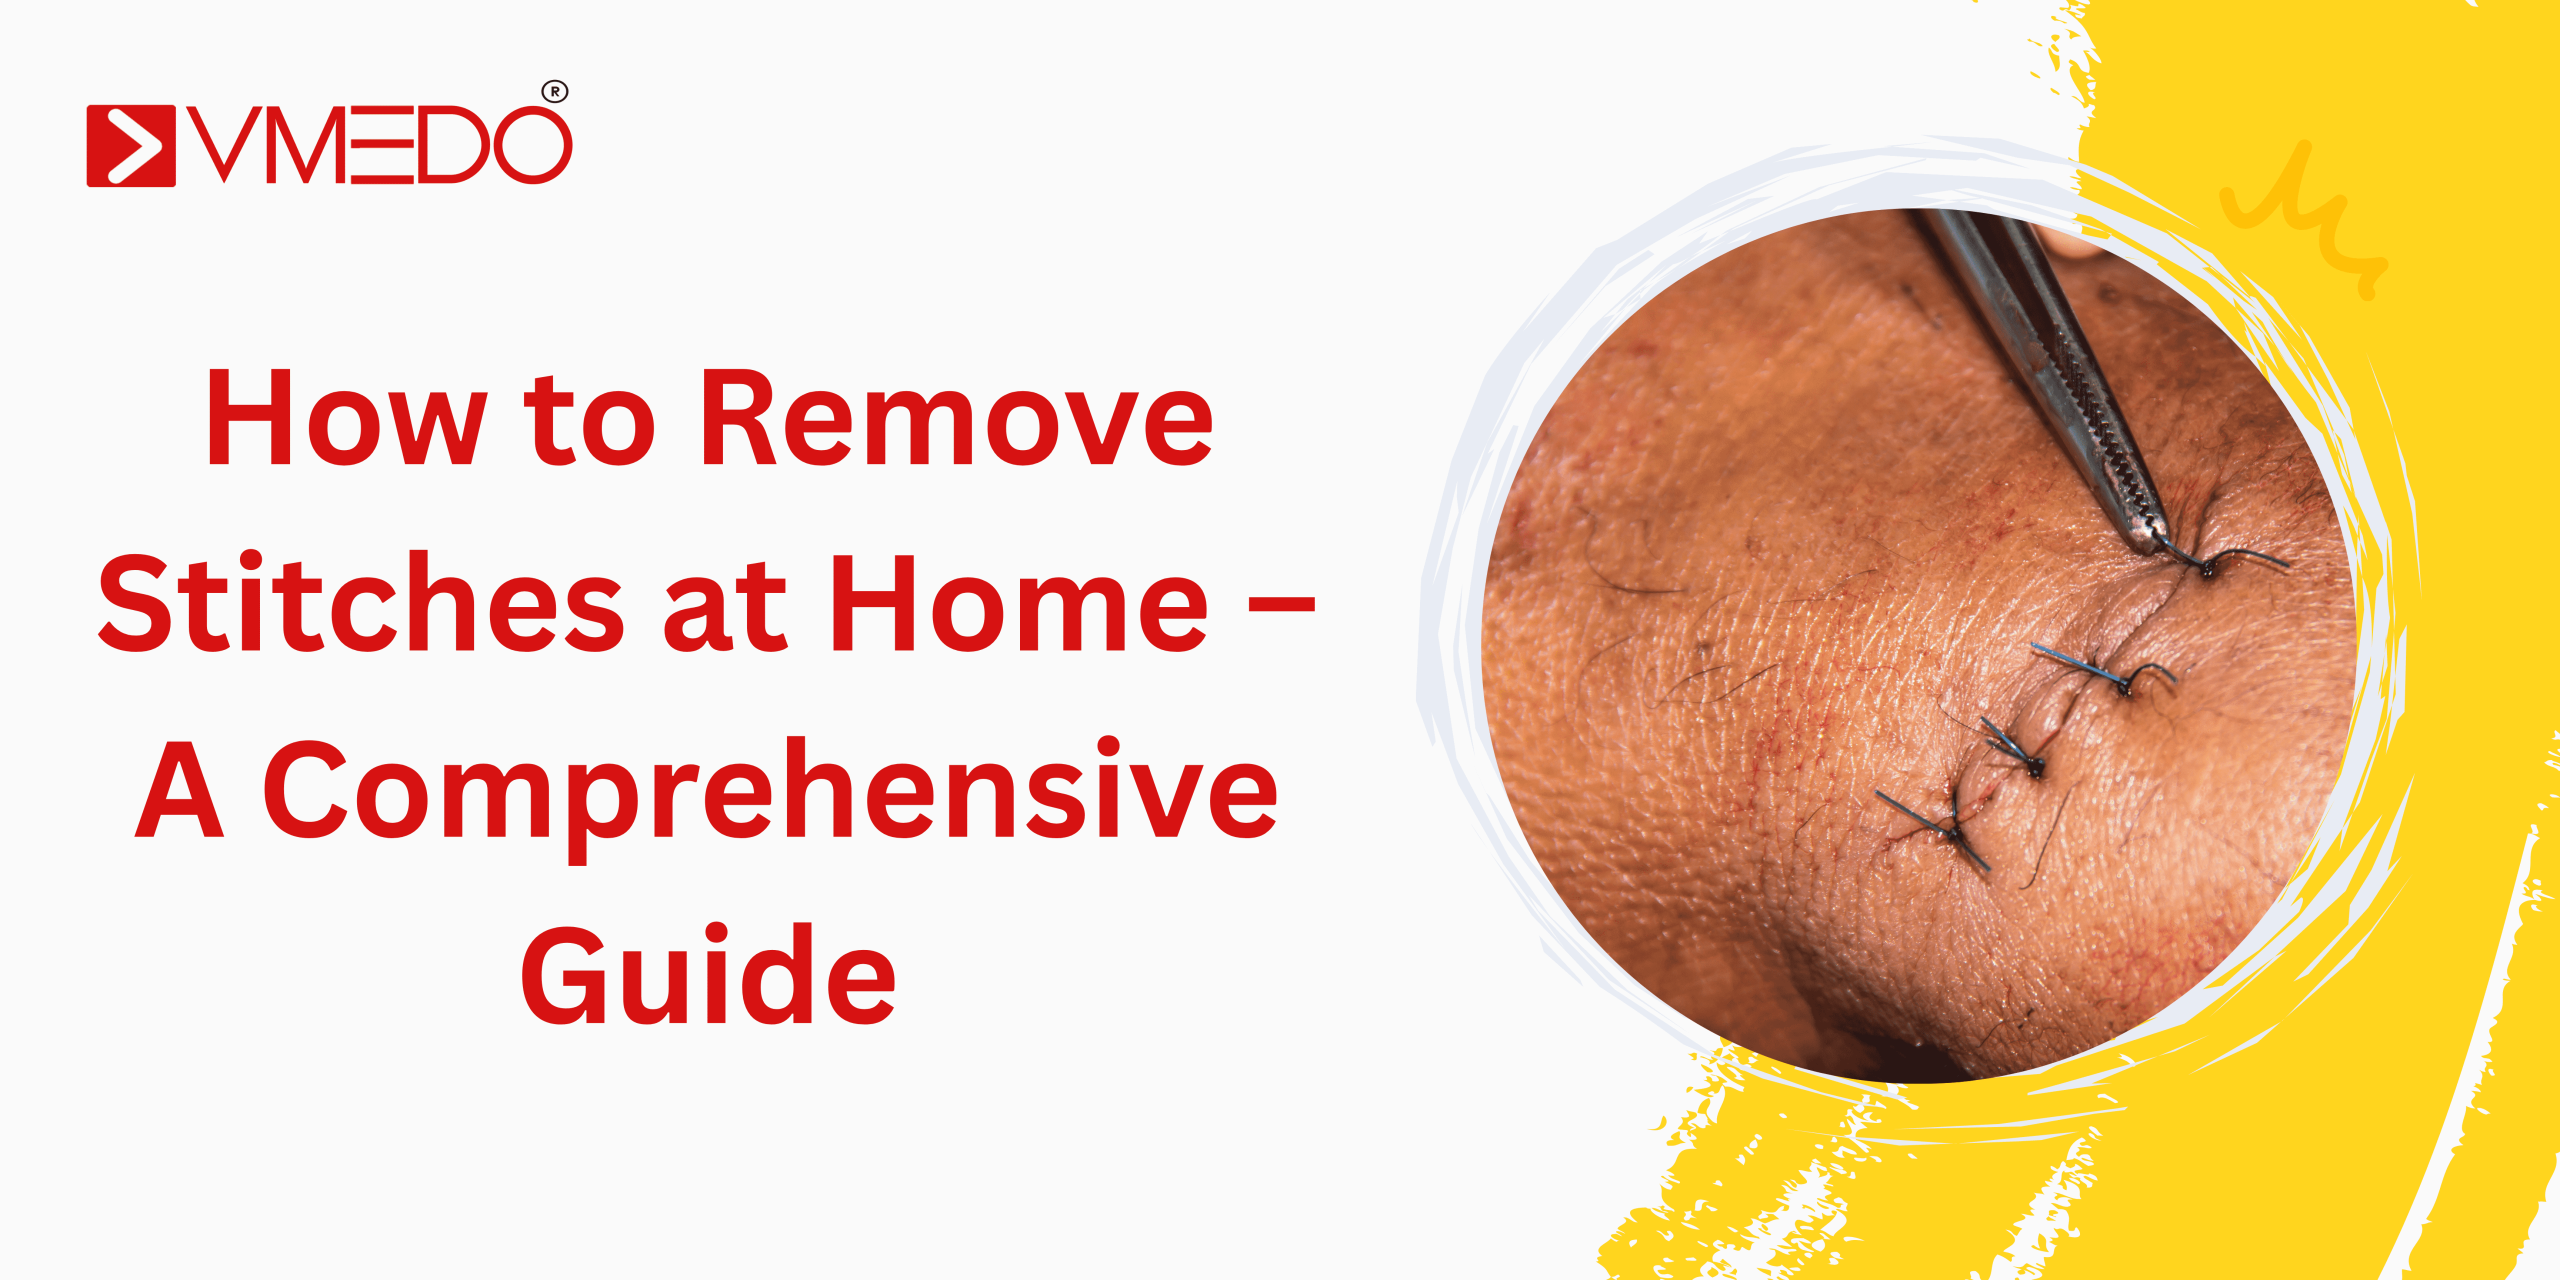
Stitches, or sutures, are one of the most common methods doctors use to close wounds after surgeries, cuts, or injuries. They help the skin heal properly by holding the edges of a wound together, reducing the risk of infection, and minimizing scarring. Once the wound has healed enough, the stitches need to be removed. Typically, a healthcare provider performs this procedure, but in some cases, individuals may consider removing stitches at home.
While it is always recommended to consult a healthcare professional for stitch removal, this comprehensive guide will walk you through the important steps, precautions, and potential risks if you are considering at-home stitch removal.
Understanding Stitches and Why They’re Removed
Stitches are threads used to sew up wounds and surgical incisions. Depending on the type of wound, doctors may use:
-
Absorbable sutures – These dissolve naturally inside the body and don’t require removal.
-
Non-absorbable sutures – These must be removed once the wound heals adequately.
Stitch removal is necessary because once the skin has closed, the sutures no longer serve a purpose. If left in too long, they can cause irritation, scarring, or even infection. The timing of removal depends on the wound location and the healing process:
-
Face: 3–5 days
-
Scalp: 7–10 days
-
Arms: 7–10 days
-
Legs: 10–14 days
-
Joints: 10–14 days
-
Back: 10–14 days
-
Abdomen or chest: 7–14 days
When to Remove Stitches at Home
You might consider removing stitches at home if:
-
You are in a location where medical help is not easily available.
-
The doctor has advised that you can safely remove them yourself.
-
You have received proper instructions from a healthcare professional.
Never attempt to remove stitches at home if:
-
The wound is red, swollen, or has pus (indicating infection).
-
The wound is reopening or bleeding.
-
The stitches are deeply embedded.
-
You are unsure about whether the wound has fully healed.
Essential Supplies You’ll Need
If you are considering removing stitches at home, gather these supplies in advance:
-
Small sterilized scissors or a stitch cutter
-
Sterilized tweezers
-
Cotton balls or gauze
-
Antiseptic solution (like povidone-iodine)
-
Alcohol wipes
-
Soap and clean water
-
Bandage or medical tape
-
Hand gloves (preferably sterile)
Step-by-Step Guide to Removing Stitches at Home
1. Wash Your Hands Thoroughly
Clean your hands with soap and water for at least 20 seconds. Dry them with a clean towel. If you have gloves, wear them to maintain hygiene.
2. Prepare the Area
-
Clean the wound area gently with soap and water.
-
Pat it dry using a sterile gauze or a clean towel.
-
Apply a small amount of antiseptic solution to disinfect the site.
3. Sterilize Your Tools
-
Wipe scissors and tweezers with alcohol before use.
-
Ensure everything is clean to minimize the risk of infection.
4. Examine the Wound
Look for signs of proper healing:
-
Skin edges are closed and not gaping.
-
No redness, pus, or unusual swelling.
-
No active bleeding.
If you notice any of these issues, stop immediately and seek medical help.
5. Cut the Stitches Carefully
-
Hold one end of the stitch with sterilized tweezers.
-
Gently lift it up to expose the thread just above the skin.
-
Use sterilized scissors to cut the thread close to where it enters the skin.
6. Pull Out the Stitch
-
After cutting, gently pull the stitch thread out with tweezers in the direction it was inserted.
-
The thread should slide out easily without much resistance.
-
If it gets stuck, do not force it—consult a doctor instead.
7. Repeat for All Stitches
-
Work slowly, removing one stitch at a time.
-
Ensure you cut each stitch separately rather than pulling multiple threads at once.
8. Clean the Area Again
-
After all stitches are removed, clean the wound site with antiseptic.
-
Pat it dry with sterile gauze.
9. Apply Bandage or Ointment
-
Apply an antibiotic ointment if available.
-
Cover the area with a bandage to protect it from dirt and bacteria for the next few days.
Aftercare Following Stitch Removal
Once stitches are removed, the wound still needs care to ensure complete healing:
-
Keep the area clean and dry – Wash gently with mild soap and water.
-
Avoid scratching or rubbing – This can irritate the skin and delay healing.
-
Use sunscreen – Protect the area from sun exposure to reduce scarring.
-
Watch for infection signs – Redness, swelling, discharge, or fever are red flags.
-
Avoid strenuous activities – Stretching or pulling the wound area may reopen it.
Risks of Removing Stitches at Home
Although removing stitches at home can be done, it is not without risks. Some common complications include:
-
Infection: If tools or hands are not sterilized, bacteria can enter the wound.
-
Scarring: Improper removal may damage the skin and cause larger scars.
-
Reopening of wound: If stitches are removed too early, the wound may reopen.
-
Pain and discomfort: Without proper technique, removal can be painful.
-
Entrapped sutures: Sometimes part of the thread remains under the skin, requiring professional removal.
Professional vs. At-Home Stitch Removal
| Factor | Professional Removal | At-Home Removal |
|---|---|---|
| Safety | Very high, done with sterile tools | Lower, depends on cleanliness and skill |
| Pain | Minimal | May be slightly uncomfortable |
| Risk of infection | Very low | Higher risk |
| Follow-up care | Immediate medical guidance | Must self-monitor |
| Cost | May involve consultation fees | Free at home |
While professional stitch removal is always safer, home removal is possible if done cautiously under the right circumstances.
Tips for Minimizing Scarring After Stitch Removal
-
Massage with vitamin E oil: Helps soften scar tissue.
-
Apply silicone gel or sheets: Reduces scar visibility.
-
Stay hydrated and eat protein-rich foods: Promotes skin repair.
-
Avoid smoking and alcohol: These delay healing.
-
Be patient: Scars naturally fade with time.
Conclusion
Stitch removal is an important step in the healing process, and while it can be done at home in certain circumstances, it carries risks if not performed carefully. Cleanliness, patience, and the right tools are absolutely essential to prevent infections or complications. However, no matter how detailed the guide, professional care is always the safest option.
If you do choose to remove stitches at home, ensure that the wound has completely healed, follow each step with precision, and monitor the area closely afterward. The real goal is not just removing the sutures—it’s ensuring that the wound heals properly, leaving behind minimal scarring and no complications.
Your body only gets one chance to heal correctly. When in doubt, don’t take unnecessary risks—seek professional help. Safe healing is far more valuable than a quick solution.


